
Well I now have 2 S6 packs which are showing there age and much shorter flight times.
So time to replace the cells.
This time the cells I am using are Hyperion G6 1400Mah ones as I ordered the G7 pack I had before, but was sent a G6 one from Robotbirds in the UK
So this was the pack I received :-
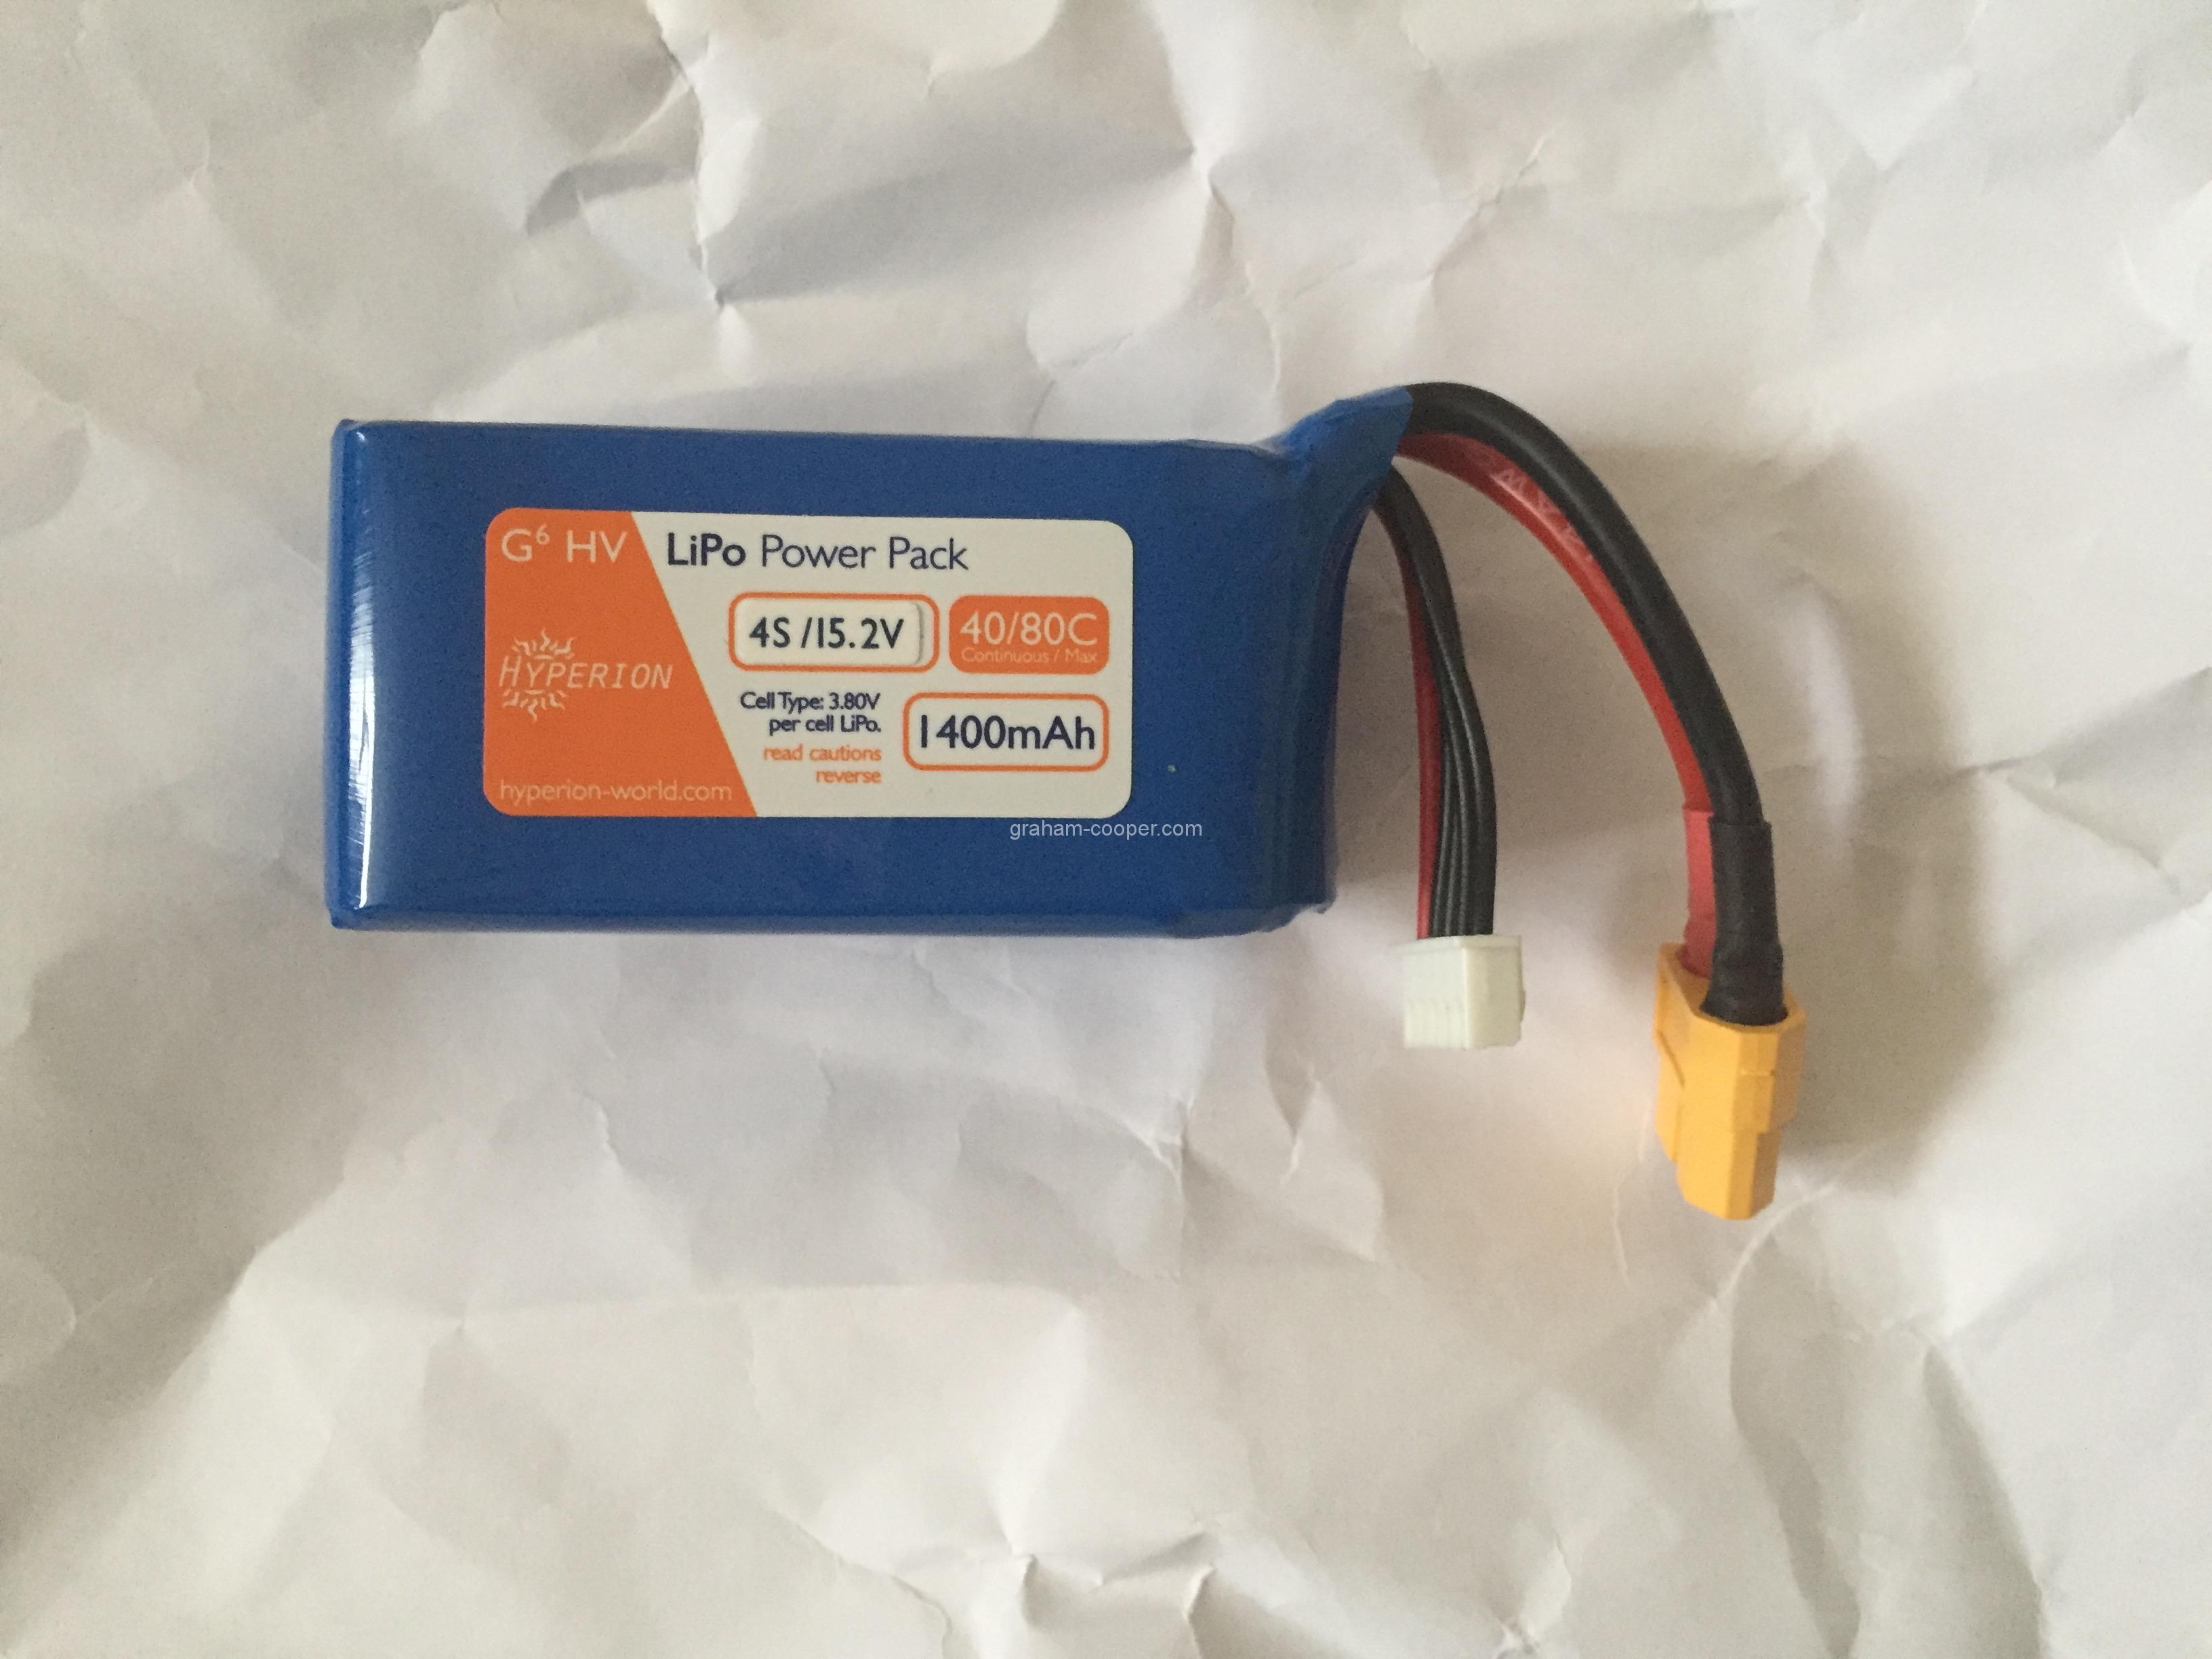
A 4S pack, which means I have to carefully split the pack!
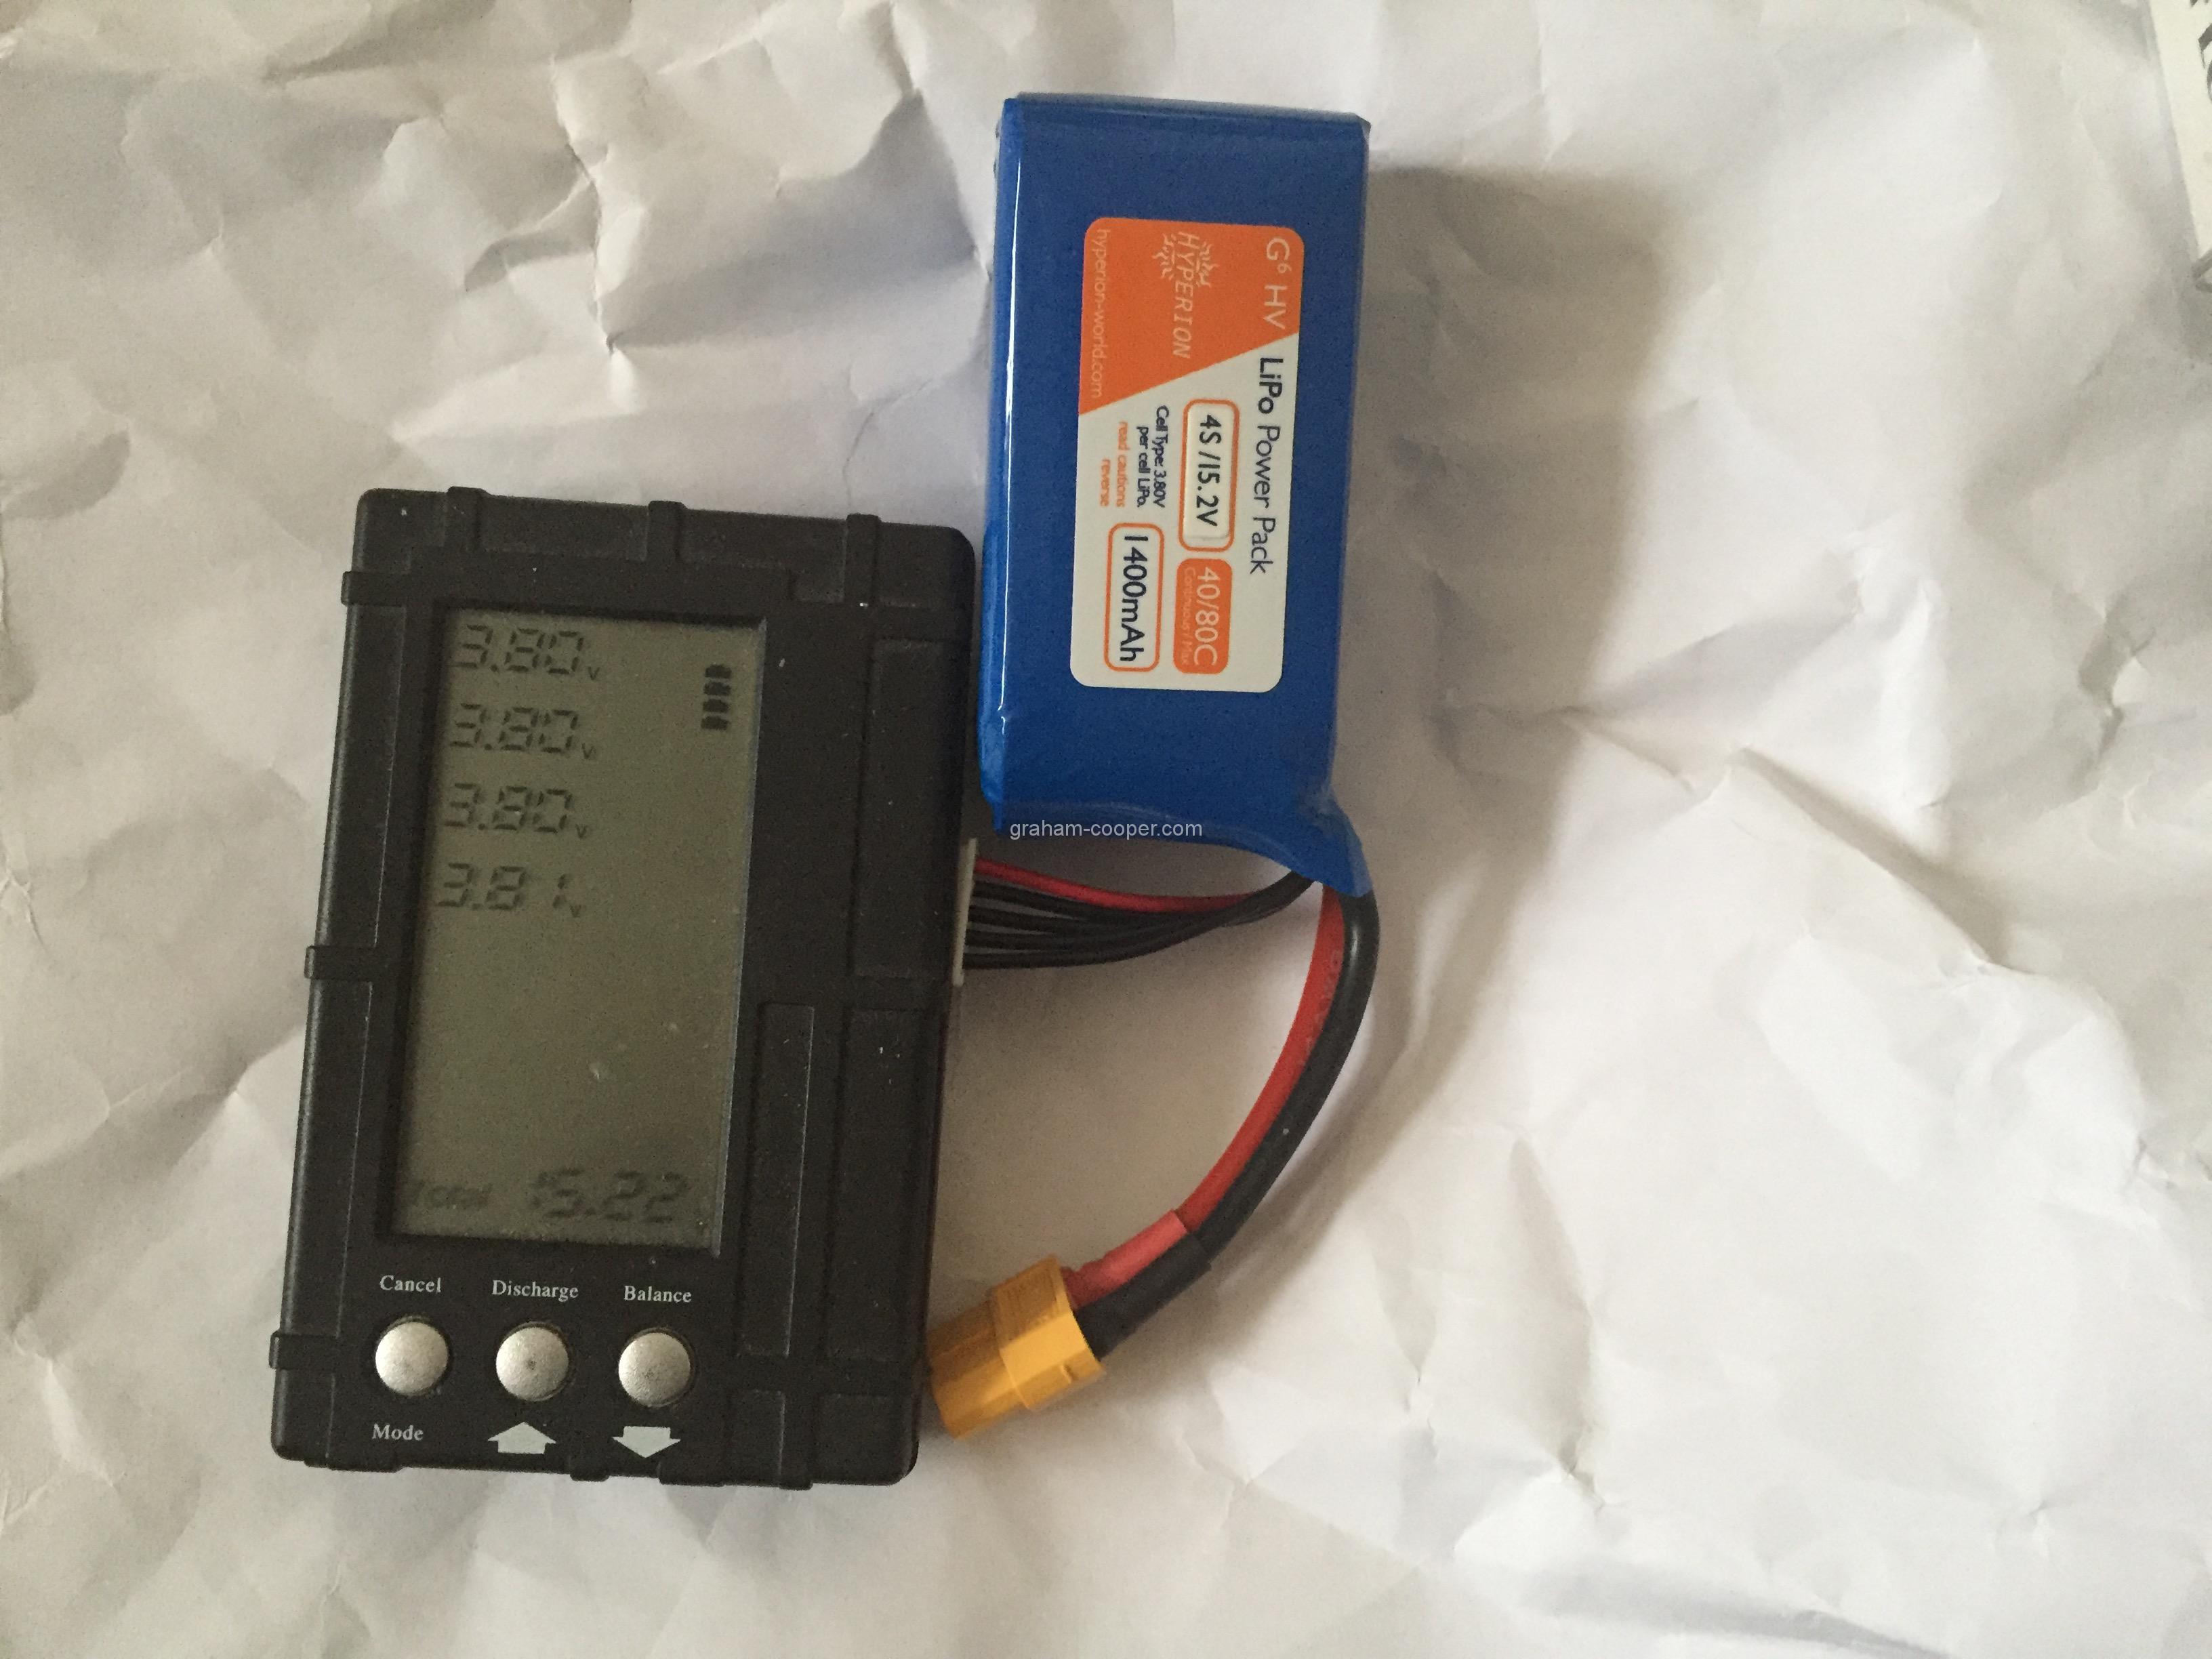
Balance of cells was around 3.8 per cell, but normally HV cells are around 3.87 per cell.
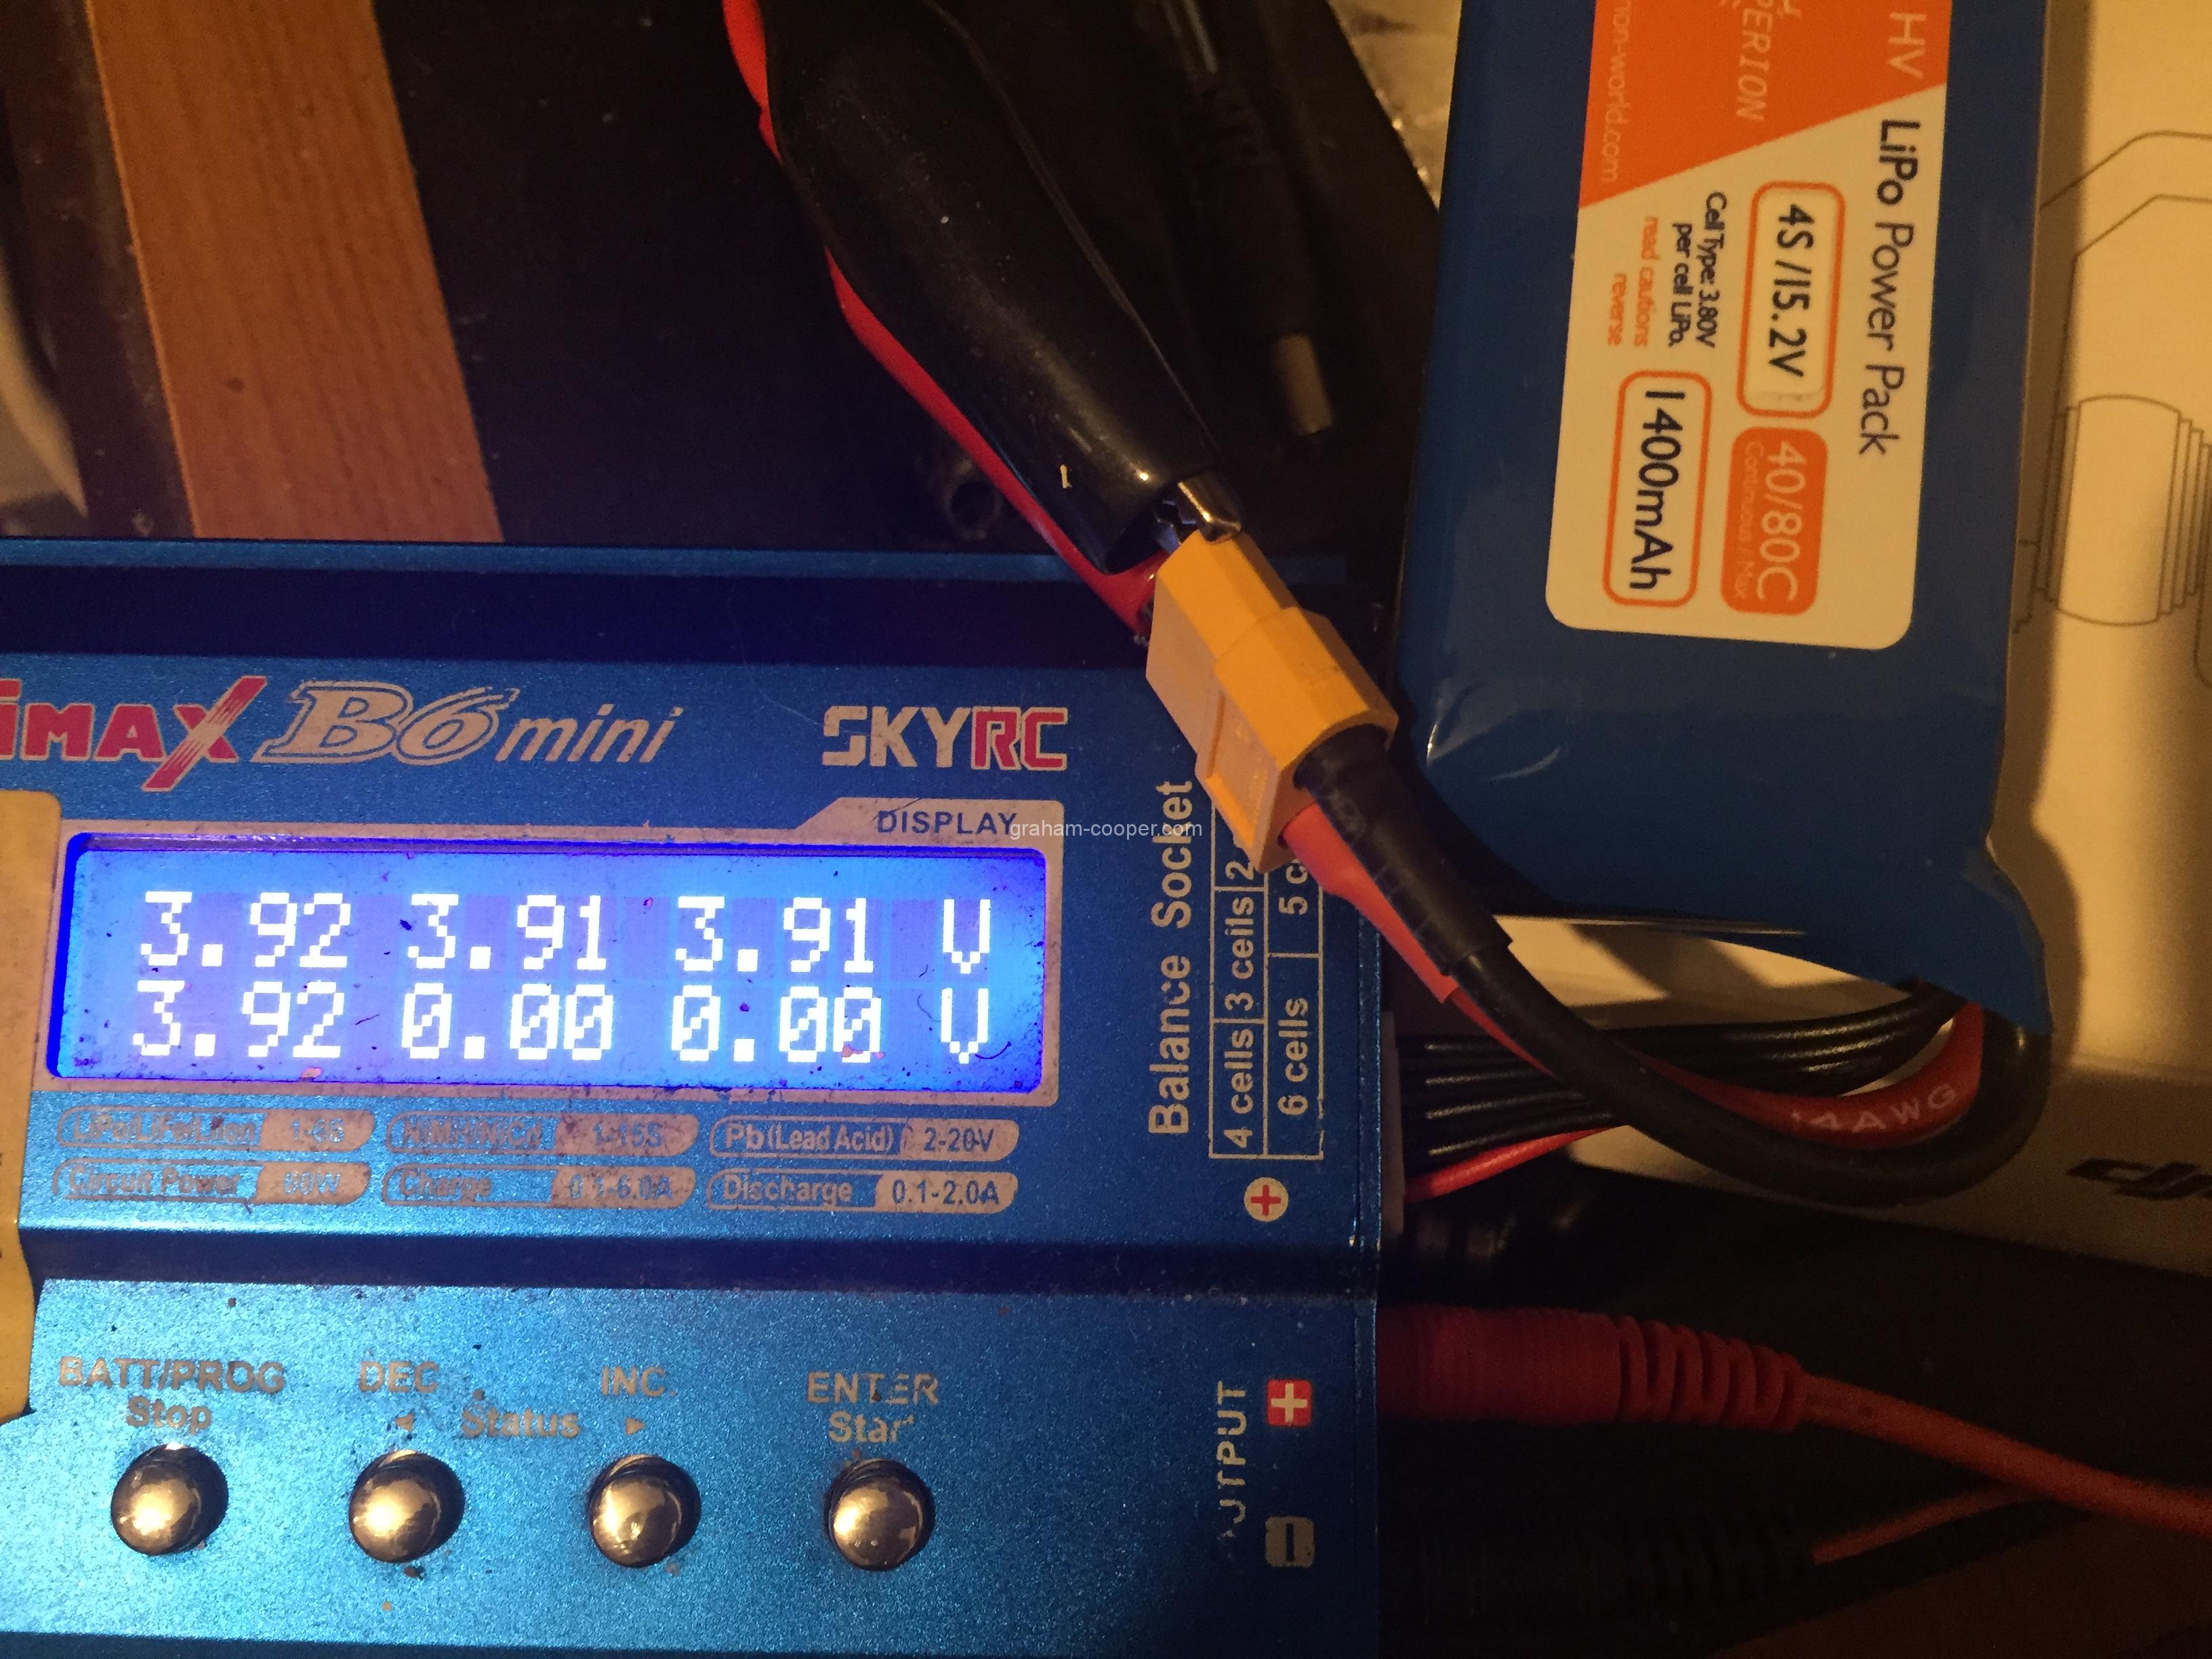
 First off I charged the pack to storage which took 164mah to get the cells to 3.9 per cell which is what I would expect from HV cells at storage voltage.
Right now onto the tricky part!
First remove the blue shrink wrap.
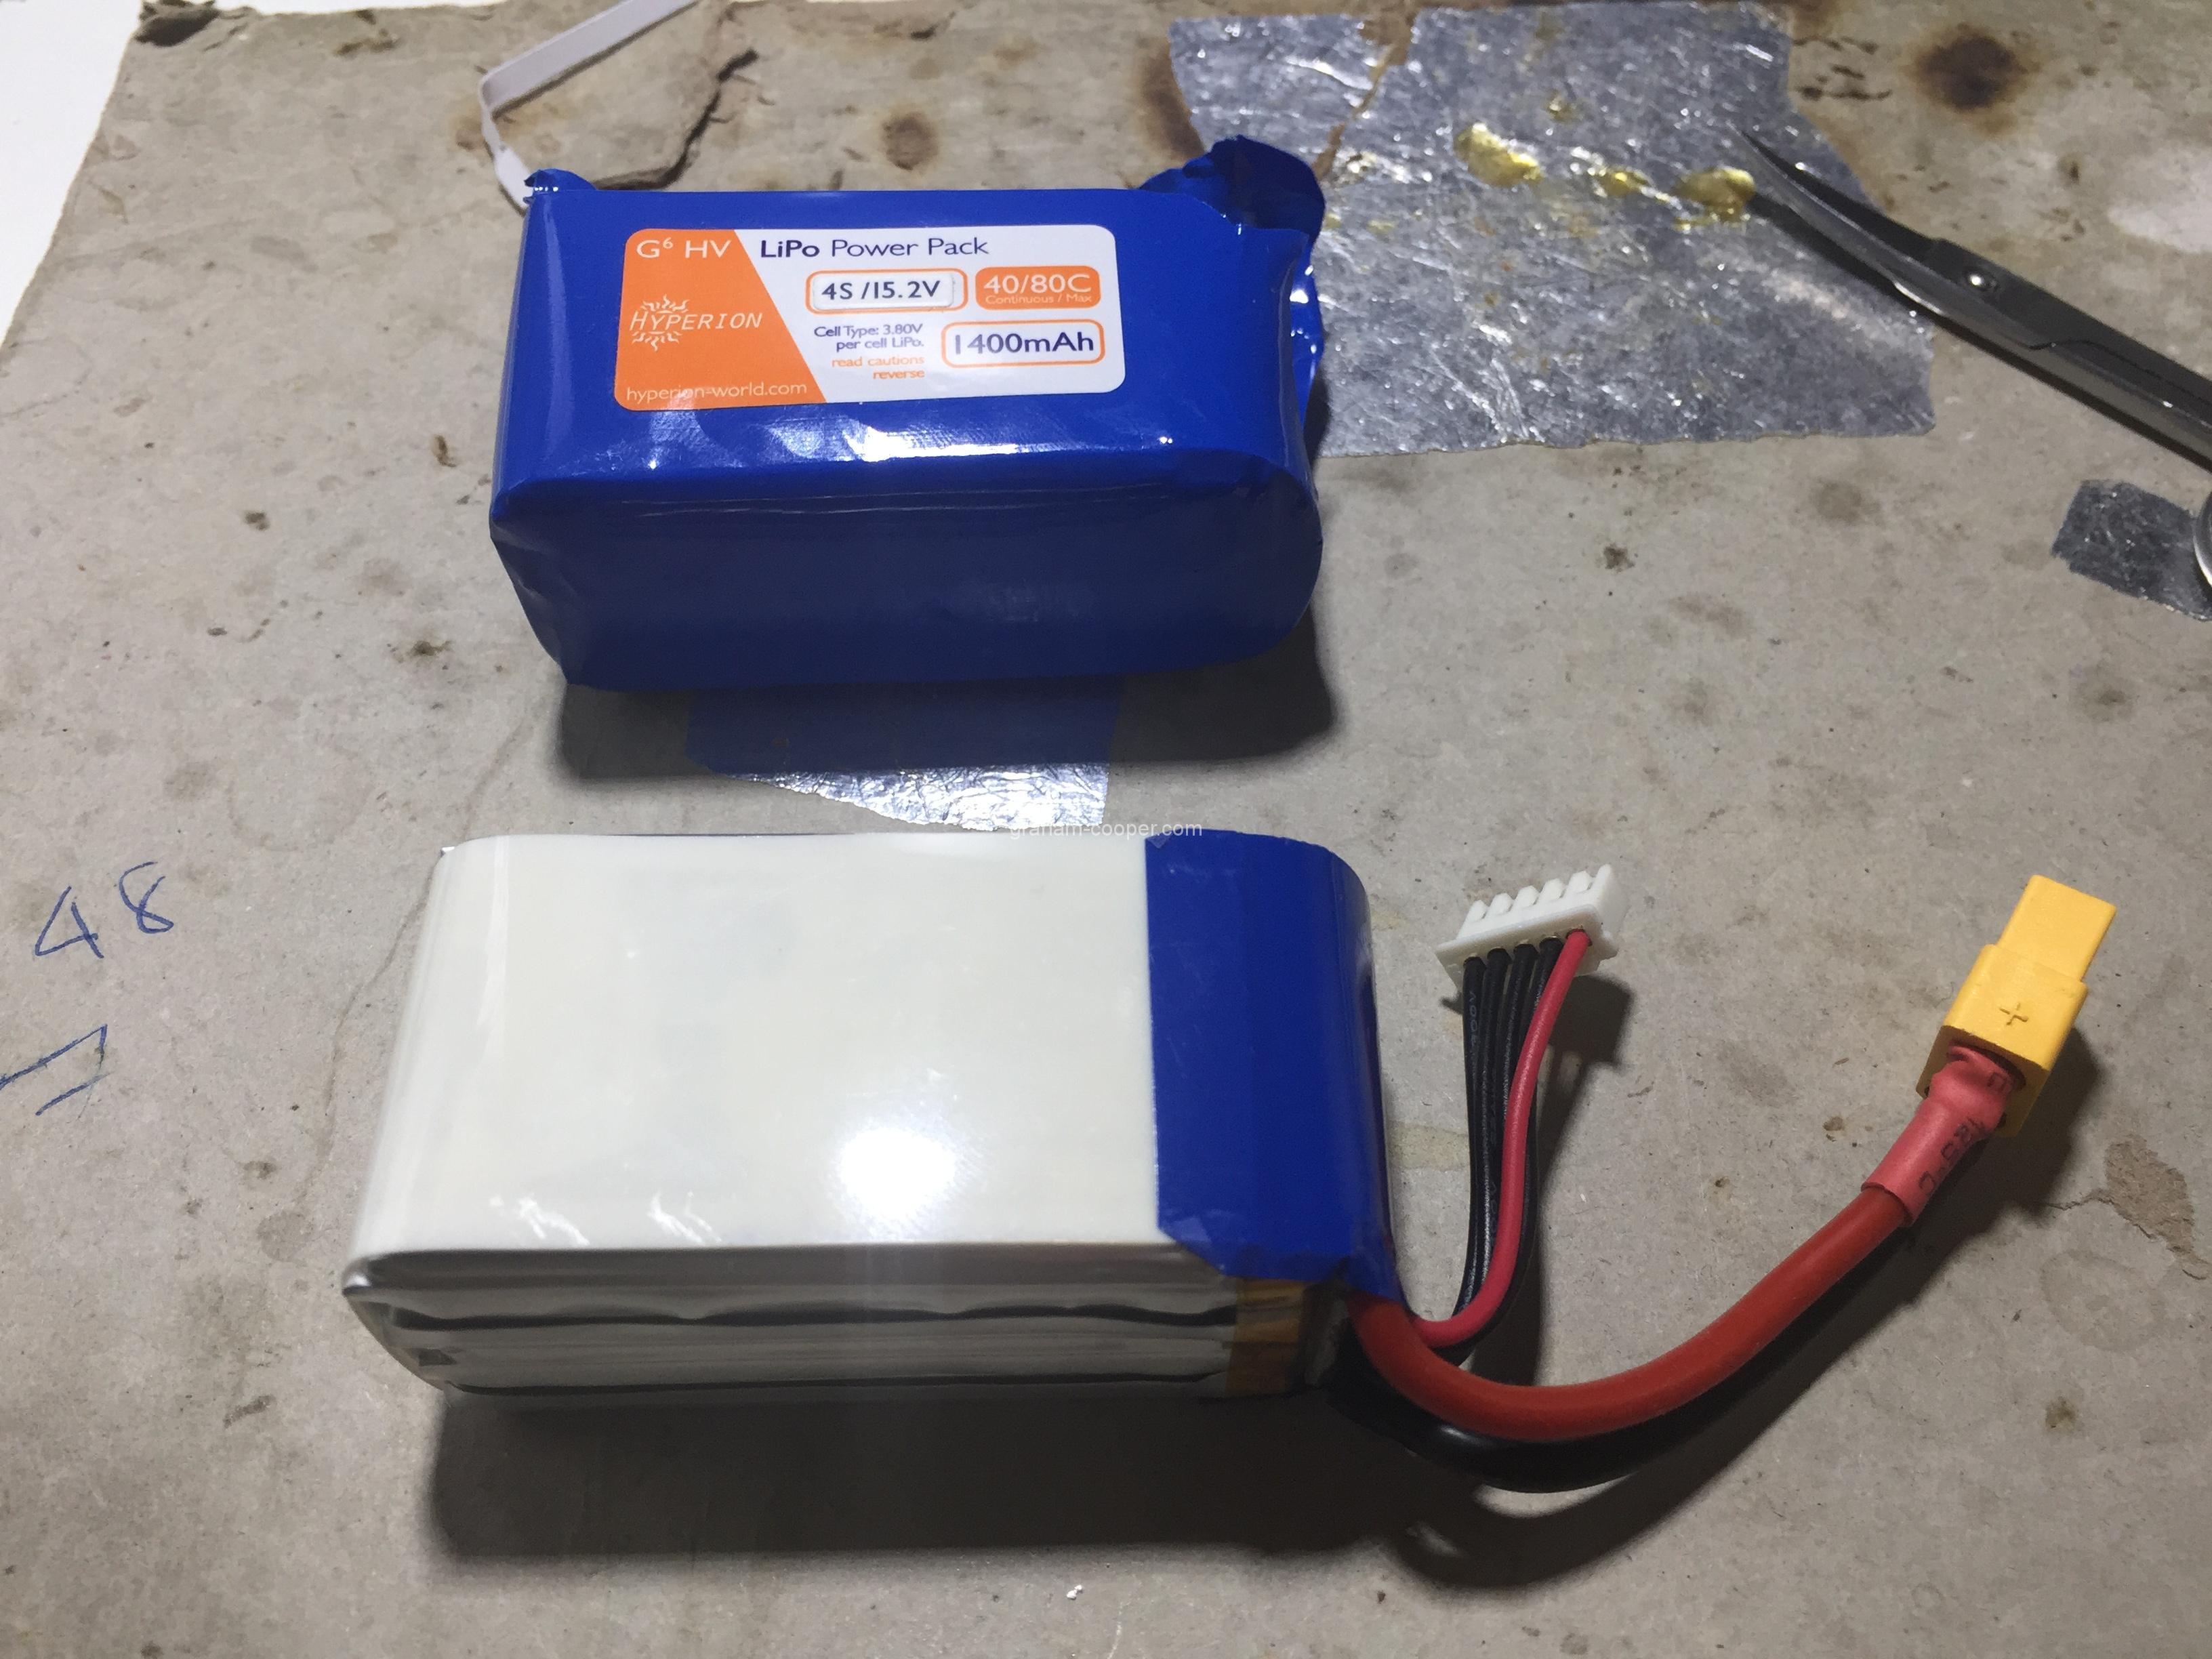
and then the bit of plastic that goes around cells.
Then (CAREFULLY) cut the balance cables and remove from the pack.

Then what I did was to use a small grinder and cut the pcb like photo below
Also note cells are stuck together with very sticky tape and best way to seperate them is by using lighter fuel ,
squirt some down sides of cells and then after a min they will come apart much easier (AGAIN be careful, lighter fuel and lipos that can catch fire!!)

Then to make it easier after this I cut down the middle of solder where cells are to seperate the cells (Sorry I forgot to take photo of this)
But in photo below is where I cut which is marked in red.

Reason why I did it this way, was trying to unsolder the cells you need to apply too much heat. This is what I done before and I am concerned its damaging the cells, so if you are really carefull ginding and cutting is far less stressful on the cells, but you still have to be really careful not to slice through pack or short the cells with cutter.
Once all cells are loose you can unsolder what is left of the tabs and you should end up with something like this:-
2 of the 4 cells now almost ready to go into the S6 battery case.
Next solder 2 of the cells together making sure you connect postive to minus correctly!!!!
And attach the balance wire to the battery pcb.

A really big issuse is the case is quite easy to get apart as its not plastic welded, but held together with really small and flimsy clips that will almost certainly break when you get case apart.
On the case below the clips broke a long time back as I was testing different cells and the case looks far worse for wear by now 😉
Cells and battery pcb back in case.
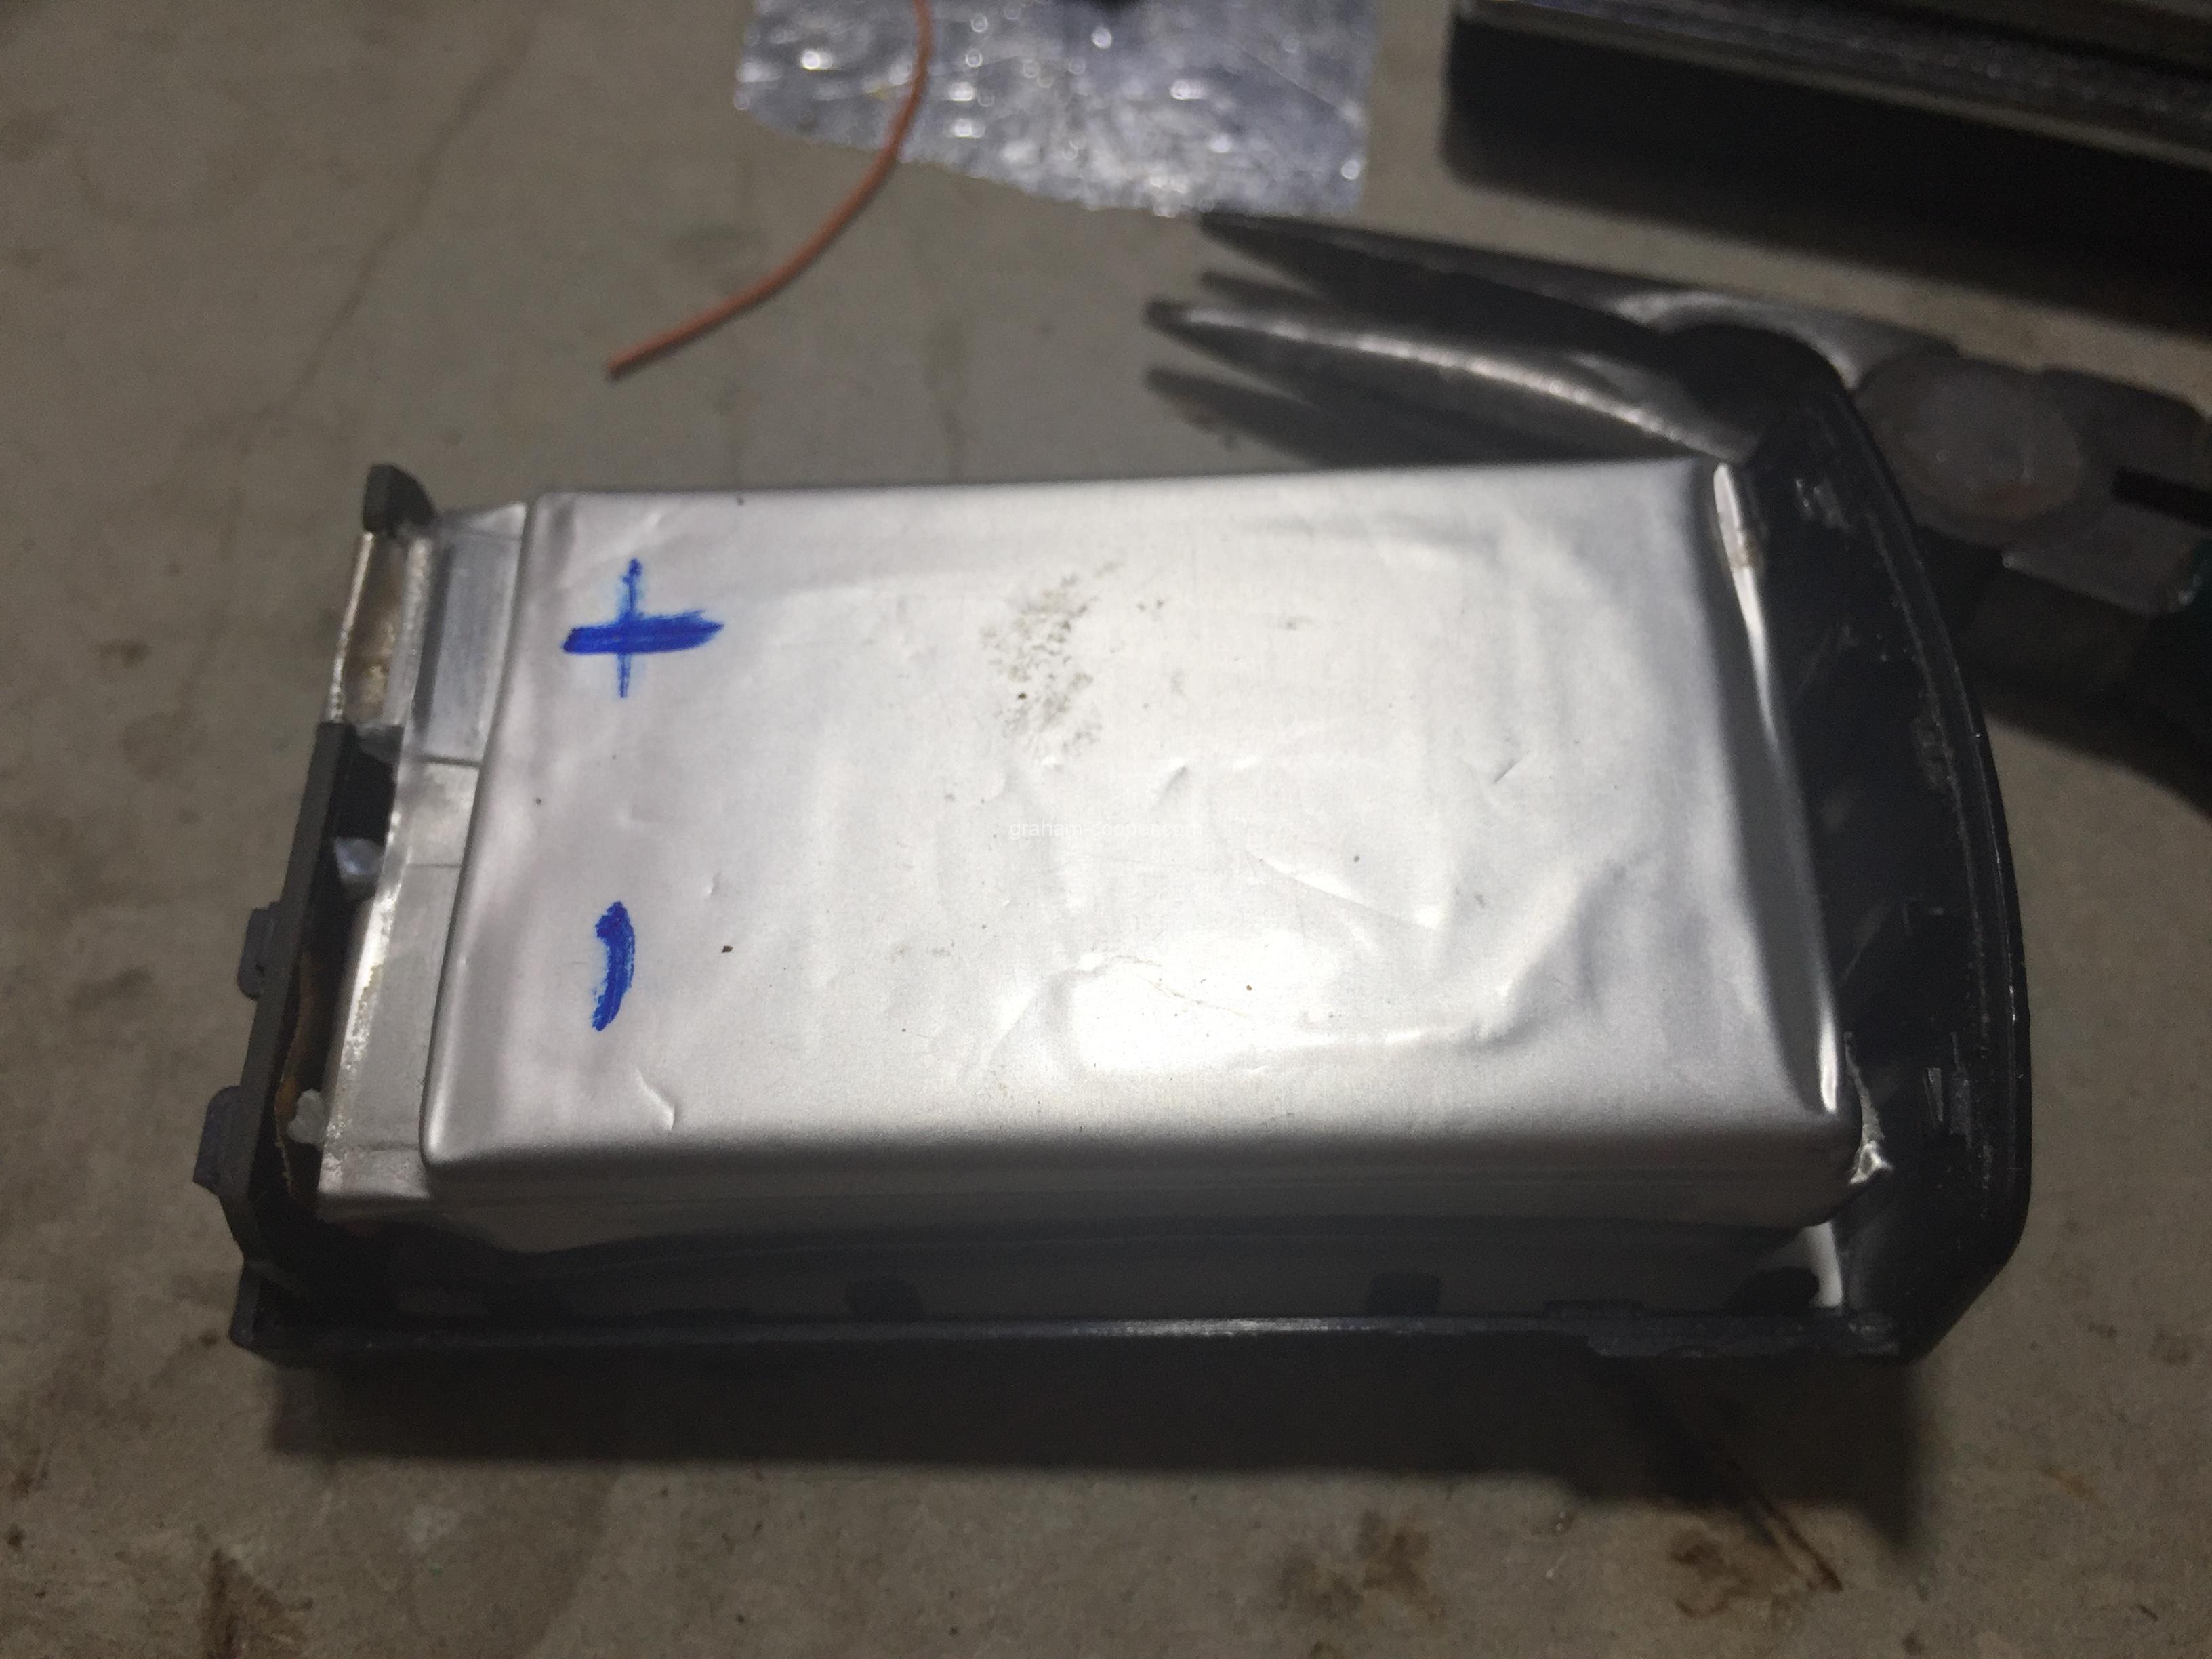
Yes I marked the cells after reading with meter so I got it right.
The postive and neagtive is marked on the S6 battery pcb as B+ and B- (Triple check you got this right or you will blow the ESC and dc convertor on the main Wingsland S6 board!!!!) I know this as I done it once! And as you cant buy the esc board its a write off, unless you want to replace every esc fet and dc convertor chip which I had to do once.
So you must check and check again that the voltage you have on the pcb is correct at around 7.6v at storage and the small balance wire should be reading 1 around 3.8v if at storage from new.
After that put it in charger to make sure it charges and if you got it wrong, blow the charger and not the s6 😉
Then charged it up and then on next post will give results.
WARNING!!!!
Only try this is you are experienced in soldering and lipo batteries, you will 100% void any wingsland warranty and also void any warranty on the lipo pack, and so for most people I would strongly advise against doing this , and to get legal stuff out of the way if you do this mod and anything catches fire or burns down, or you destroy your S6 or charger its down to you as you have been warned!!
Best solution is some third party lipo maker like GiFi power would make better batteries , they make them for the Dobby and so why not the Wingsland S6??? I am sure they would sell a lot if they made some!!